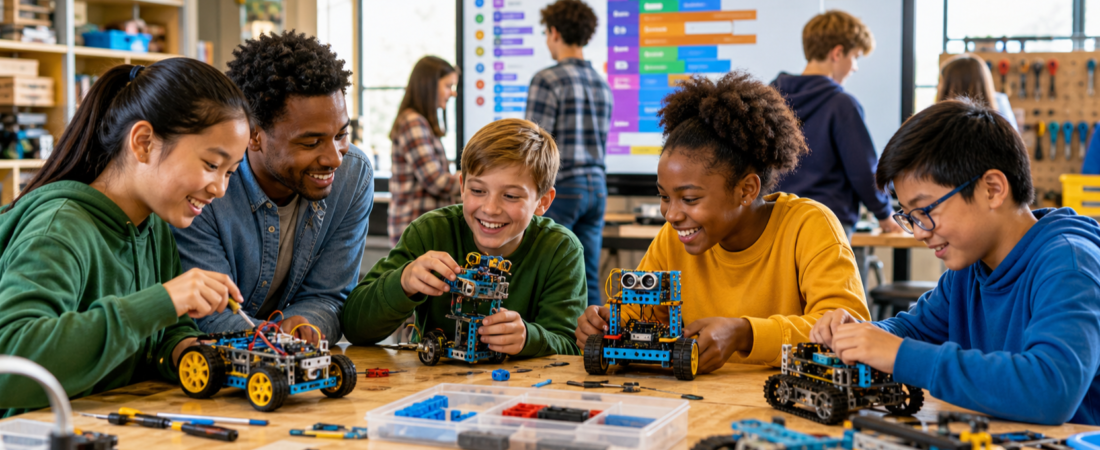
The best robotics project is not the most complicated one on the table.
Try this before buying a robotics kit: a 30-minute project test
Pick one measurable behavior, such as stopping when an obstacle is detected. Write down the expected trigger, the sensor reading, and the motor response. Run five trials at the same starting distance, then change only one variable—such as obstacle color or room lighting—and repeat. Record successes, failures, and what you changed. This is a suggested experiment, not a claim that we tested a specific kit.
| Learner | First build | What to measure | Next challenge |
|---|---|---|---|
| First-time builder | One-sensor stop robot | Correct stops in five trials | Change obstacle distance |
| Comfortable with loops | Line follower | Completed laps and deviations | Different track curves |
| Ready for autonomy | Obstacle avoidance | Collisions and route completion | Unknown obstacle layout |
Choose the project that produces a question the learner can answer with evidence. The point is to learn sensing, decisions, and debugging—not to collect features.
It is the one the learner can understand well enough to test, explain, and improve.
For a beginner, that might be a robot that follows a line or responds to one sensor. For a more experienced student, it might be navigation, computer vision, or a multi-step autonomous task. The useful question is not “How advanced does this look?” It is “What new decision will the learner understand by the end of the build?”
What changed my mind as a parent of three
I have three children, and I spent a lot of time wondering whether a VEX program would be a good investment or just become an expensive toy. We eventually started one robotics path, but the program and hardware level turned out not to match my children well at that stage. That experience changed how I judge robotics programs: the platform can be excellent and still be the wrong fit for the learner in front of you.
For younger Lower School students, I now prefer team projects over pushing one child to do everything alone. Building, testing, observing, recording, and explaining can be shared roles, and the roles can rotate. At that age, learning how to cooperate around a technical problem can be as valuable as the robot itself.
By Middle School, a competition structure can become much more useful. What I liked about VEX at that stage was the shared goal: students build toward the same challenge, compare approaches, compete, and have a reason to explain what they changed and why. The important part is not the trophy. It is that the project has a deadline, a team, and a reason to iterate.
And there is one test I would put above every curriculum map: is the student still having fun enough to come back? A technically perfect program that kills curiosity is a poor long-term choice. A modest project that makes the student want one more test run is a much better opportunity.
Choose the learning step, not the flashiest robot
A project works when the behavior is visible. “Follow the line,” “stop when the sensor detects an obstacle,” or “move the object to this zone” gives the learner something concrete to predict and evaluate.
That visibility matters more than a long feature list. If the student cannot say what the robot is sensing, what the code decides, and what physical action follows, the project is too vague.
Four useful challenge levels
Level 1 — Make code move something
Good fit: first-time builders and block-coding beginners.
Project direction: simple motor sequence, light/sound response, or basic sensor trigger.
Move up when: the learner can explain what each command is intended to do and can predict the result before pressing Run.
Level 2 — Sense, decide, respond
Good fit: students ready for feedback and debugging.
Project direction: line follower or obstacle-avoidance robot.
Core learning: calibration, conditions, motor control, and changing one variable at a time.
Level 3 — Navigate toward a task
Good fit: learners who already understand a basic sensor-to-action loop.
Project direction: delivery challenge, maze navigation, object transport, or multi-sensor mission.
Core learning: planning, state, recovery from errors, and defining success beyond “it moved.”
Level 4 — Add perception or more advanced autonomy
Good fit: experienced students with a clear reason to add complexity.
Project direction: vision-assisted sorting, more advanced autonomous behavior, or a system that combines several sensors and decisions.
Core learning: integration, evidence, failure handling, and deciding whether the extra complexity actually improves the task.
Why the line follower is still a strong first serious build
A line-following robot is simple enough that the learning loop stays visible. The sensor sees a difference, the program interprets it, and the motors react. When the robot drifts, the student has a specific question to investigate.
That creates good engineering behavior: observe, change one thing, test again, and record what happened. A smaller project that teaches that habit is more valuable than an impressive robot nobody can debug.
Block coding is a real on-ramp
Do not treat block coding as fake programming. It can be an excellent first interface because the learner can focus on logic and physical cause-and-effect without also fighting syntax.
The transition to text-based code should happen when the learner is ready for more control, reusable functions, data handling, or a workflow that blocks make awkward. The important thing is not making the interface look advanced; it is making sure the student can explain what the program is doing.
Turn the idea into a five-sentence project brief
Before buying extra parts, make the learner answer these five prompts:
- Main behavior: What should the robot visibly do?
- Main skill: What are we actually practicing—sensors, motor control, navigation, coding, or perception?
- Smallest meaningful version: What is the simplest build that demonstrates that skill?
- One observation: What will we watch during the test?
- One next step: If it works, what new capability would teach something genuinely new?
If the student cannot answer those questions, the project is still an idea rather than a buildable brief.
Match hardware complexity to coding confidence
A common mistake is to increase hardware and software difficulty at the same time. That makes failures harder to diagnose.
For a newer learner, keep the hardware simple while they learn the decision loop. When the logic becomes comfortable, add a sensor, a more demanding mechanism, or a navigation problem. If you change everything at once, the student cannot tell which change caused the result.
Use one test question at a time
A robotics session becomes much more productive when every run answers a question.
- Does the robot detect the line consistently?
- Does changing motor speed reduce overshoot?
- Does the obstacle threshold work under different lighting?
- Can the robot recover if it starts slightly off course?
This is much better than “Let’s run it again and see.” The learner starts to treat testing as evidence instead of performance.
For younger students, team design is part of the lesson
Mixed-experience groups do not need everyone typing code at the same time. One learner can predict behavior, another can run the test, another can record results, and another can propose the next change. Rotate the roles so the reasoning becomes shared rather than concentrated in one “robot expert.”
This is especially useful for younger students. A team project gives them a way to practice listening, explaining, disagreeing constructively, and taking responsibility for one part of a larger build. Those habits make later competition projects much healthier.
When competition starts to add value
Competition is most useful when the student already has enough foundation to learn from the pressure. In Middle School, a common target and a season-long challenge can give students a powerful reason to refine the same machine instead of abandoning it after one successful demo.
What I value most is the combination of shared goals and explanation. Students have to make choices, test them, compare results, and communicate why one version worked better than another. That is much closer to real engineering than simply following instructions to assemble a model.
When the project is ready to grow
Move to a harder build when the learner can explain the current one without memorized phrases. Good signs include:
- They can describe the input → decision → action loop.
- They can name the main failure mode.
- They can propose one controlled experiment.
- They can explain why the next feature is needed.
- They are still curious after the robot finally works.
The last one matters. Curiosity after success is a better reason to add complexity than boredom imposed by the adult.
For parents: judge the explanation, not just the demo
A smooth robot can hide shallow learning. A messy prototype can contain excellent thinking.
Ask the learner three questions: “Why did it do that?”, “What did you change?”, and “What would you test next?” If the answers are specific, the project is doing useful educational work.
If you are choosing a robotics platform before choosing the project, see VEX vs LEGO SPIKE: Which Robotics Kit Fits Your Child?. That guide focuses on competition, curriculum, materials, current pricing context, and the learning style that fits the child.
What to avoid
- Choosing a project because the title contains “AI.”
- Adding computer vision before the basic mechanical task is reliable.
- Buying extra hardware before defining the behavior.
- Changing several variables after every failed test.
- Letting the most experienced student make every decision.
- Treating a beginner project as inferior just because it is simple.
Bottom line
Choose a robotics project that matches the learner’s next understandable step. Begin with an observable behavior, make the sensor-to-action loop clear, test one question at a time, and add complexity only when the learner can explain why it is needed.
As a parent, I would add one more rule: choose the path that makes the child want to return. Teamwork can matter more than sophistication for younger students; competition can become a strong motivator later; and no platform is worth the price if it becomes an expensive box that the student stops opening.
A good robotics project does not merely produce a working robot. It produces a learner who can say what happened, why it happened, what they would change next—and who still wants to keep going.
Sources and further learning
- VEX Education — IQ STEM Labs
- VEX IQ — official education overview
- LEGO Education — SPIKE Prime
- FIRST LEGO League — official program information
When the robot stops early, keep one question on the table
A hypothetical student's robot stops before reaching a marked line. Buying a better kit would not yet explain the behavior. First distinguish the programmed condition from a mechanical or sensor problem.
| Situation | Next check | Why it changes the decision |
|---|---|---|
| Stop threshold is unclear | Have the student explain the condition in words before editing code. | A working copy of someone else's program can hide a missing concept. |
| Threshold makes sense but readings vary | Observe the sensor under the same surface and lighting. | The question is now measurement, not more features. |
| Movement is inconsistent with unchanged readings | Inspect the build and motor behavior before adding autonomy. | Mechanical faults can look like programming faults. |
Use the child's explanation to choose the next challenge. This diagnostic conversation differs from a project catalog: it gives the parent a way to identify the next learning step without inventing a test result.